Out of all the recipes I try, bread is the worst! I live with a penguin so it is already difficult to find a warm area for it to rise and nothing turns out right. I have tried several. I am ready to give up. I don't eat a lot of breads so it was more for the challenge than anything else. Then my mother found a great little pamphlet from the 1940's, I think, The Art of Making Bread...At Home put out by the Northwestern Yeast Company. The regular bread recipes all made 4-5 loaves. I do not need that much bread if it turns out and I don't want to waste all the ingredients. So let's try rolls! I have a beautiful dill plant in the garden so....Dill Rolls!

I don't know exactly what my mother was doing when she found this great pamphlet. Cleaning out something. She also gave me a 1970's Rival Crock-Pot cookbook to go with my beautiful bright orange crock-pot and a 1930's cake cookbook.


First! Have to make the sponge. A quick online search to get the measurement of a yeast cake (2 1/4 tsp) and we are off.

Yeasties going to work! I've had such bad luck with breads that I actually tested the yeast before committing myself.

Everything looks good so far. I waited until Dylan was out of town for the weekend since I needed to keep the kitchen at a warmer temperature. This lovely mix had to sit out overnight.

The next day...it's time to make the bread! I looked over several recipes online to get an idea on the amount of dill I should use. I ended up with about 1.5 Tablespoons.

I am so surprised! The sponge rose nicely. Looks much better than the water with melted shortening behind it.

Now I am getting concerned...looks soupy...

Still looking soupy with the dill... The dill smells amazing!

Time to knead! But this great pamphlet has step by step instructions with pictures on how to knead bread. I love this book!

It is starting to look like bread now. I'm already getting the feeling that I did not add enough dill.

The dough had to rise 2 more times but it looked great!

I decided to make crusty rolls instead of just plain rolls so I could keep several in the freezer for later. But first, they have to rise. Again.
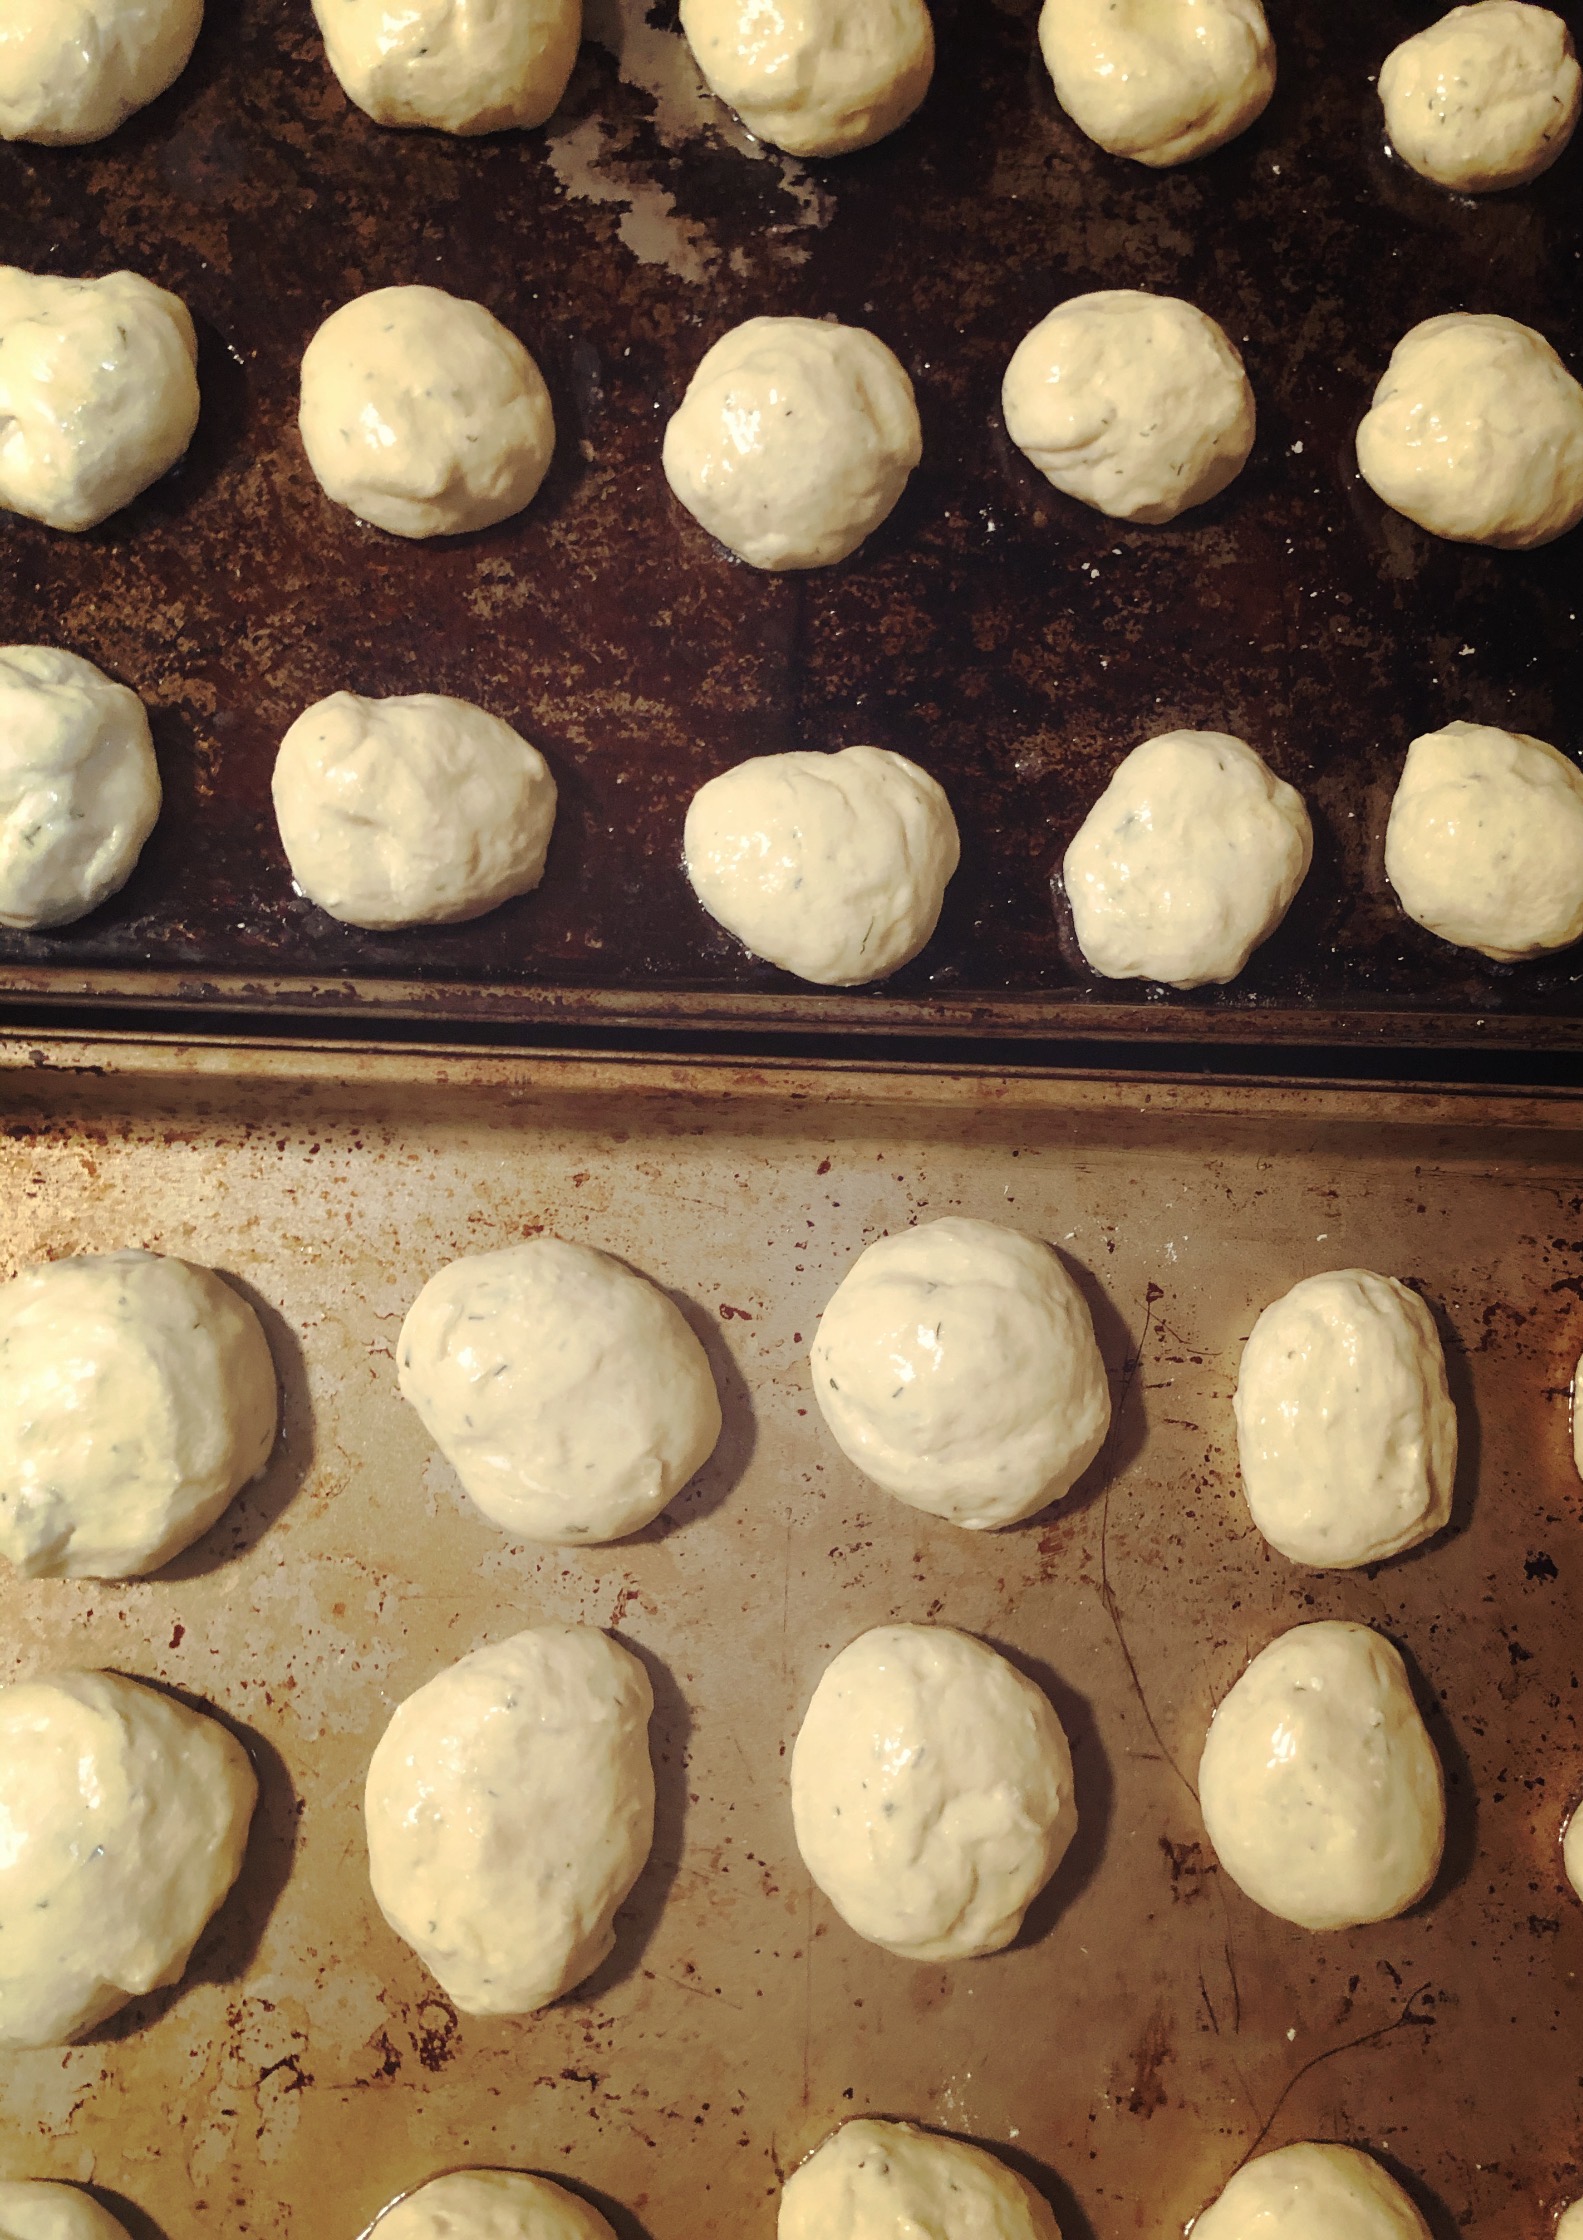
They are finally ready to bake. I never knew bread could take 2 days to make!

Smells so good...I should have done a better job at making them the same size but I had already spent almost 2 days on the damn things.

They look so pretty! But hard to see the dill.


These were light with a slight crust and, sadly, almost no dill flavor. I definitely need to add a lot more dill! Besides that, they were great! Delicious sliced in half with butter, as a sandwich, or even as a hamburger bun. I kept catching Dylan sneaking off with them as a snack. I want to make these again but not as crust rolls. Put them close together in a pan and have rolls without sides like back in school. All in all these were very easy to make and, while they did take 2 days to do, not a lot of it was active. The only problem was keeping the kitchen warm enough to let the dough to rise. I will not be able to make these while Dylan is home and cranking the ACs up.
My Rating: Keeper!
Dylan's Rating: "I love these! They were perfect to freeze and thaw out as needed. 10 minutes in the oven at 325."
No comments:
Post a Comment